DIY 4th of July Card – Patriotic, Handmade, and Full of Sparkle!
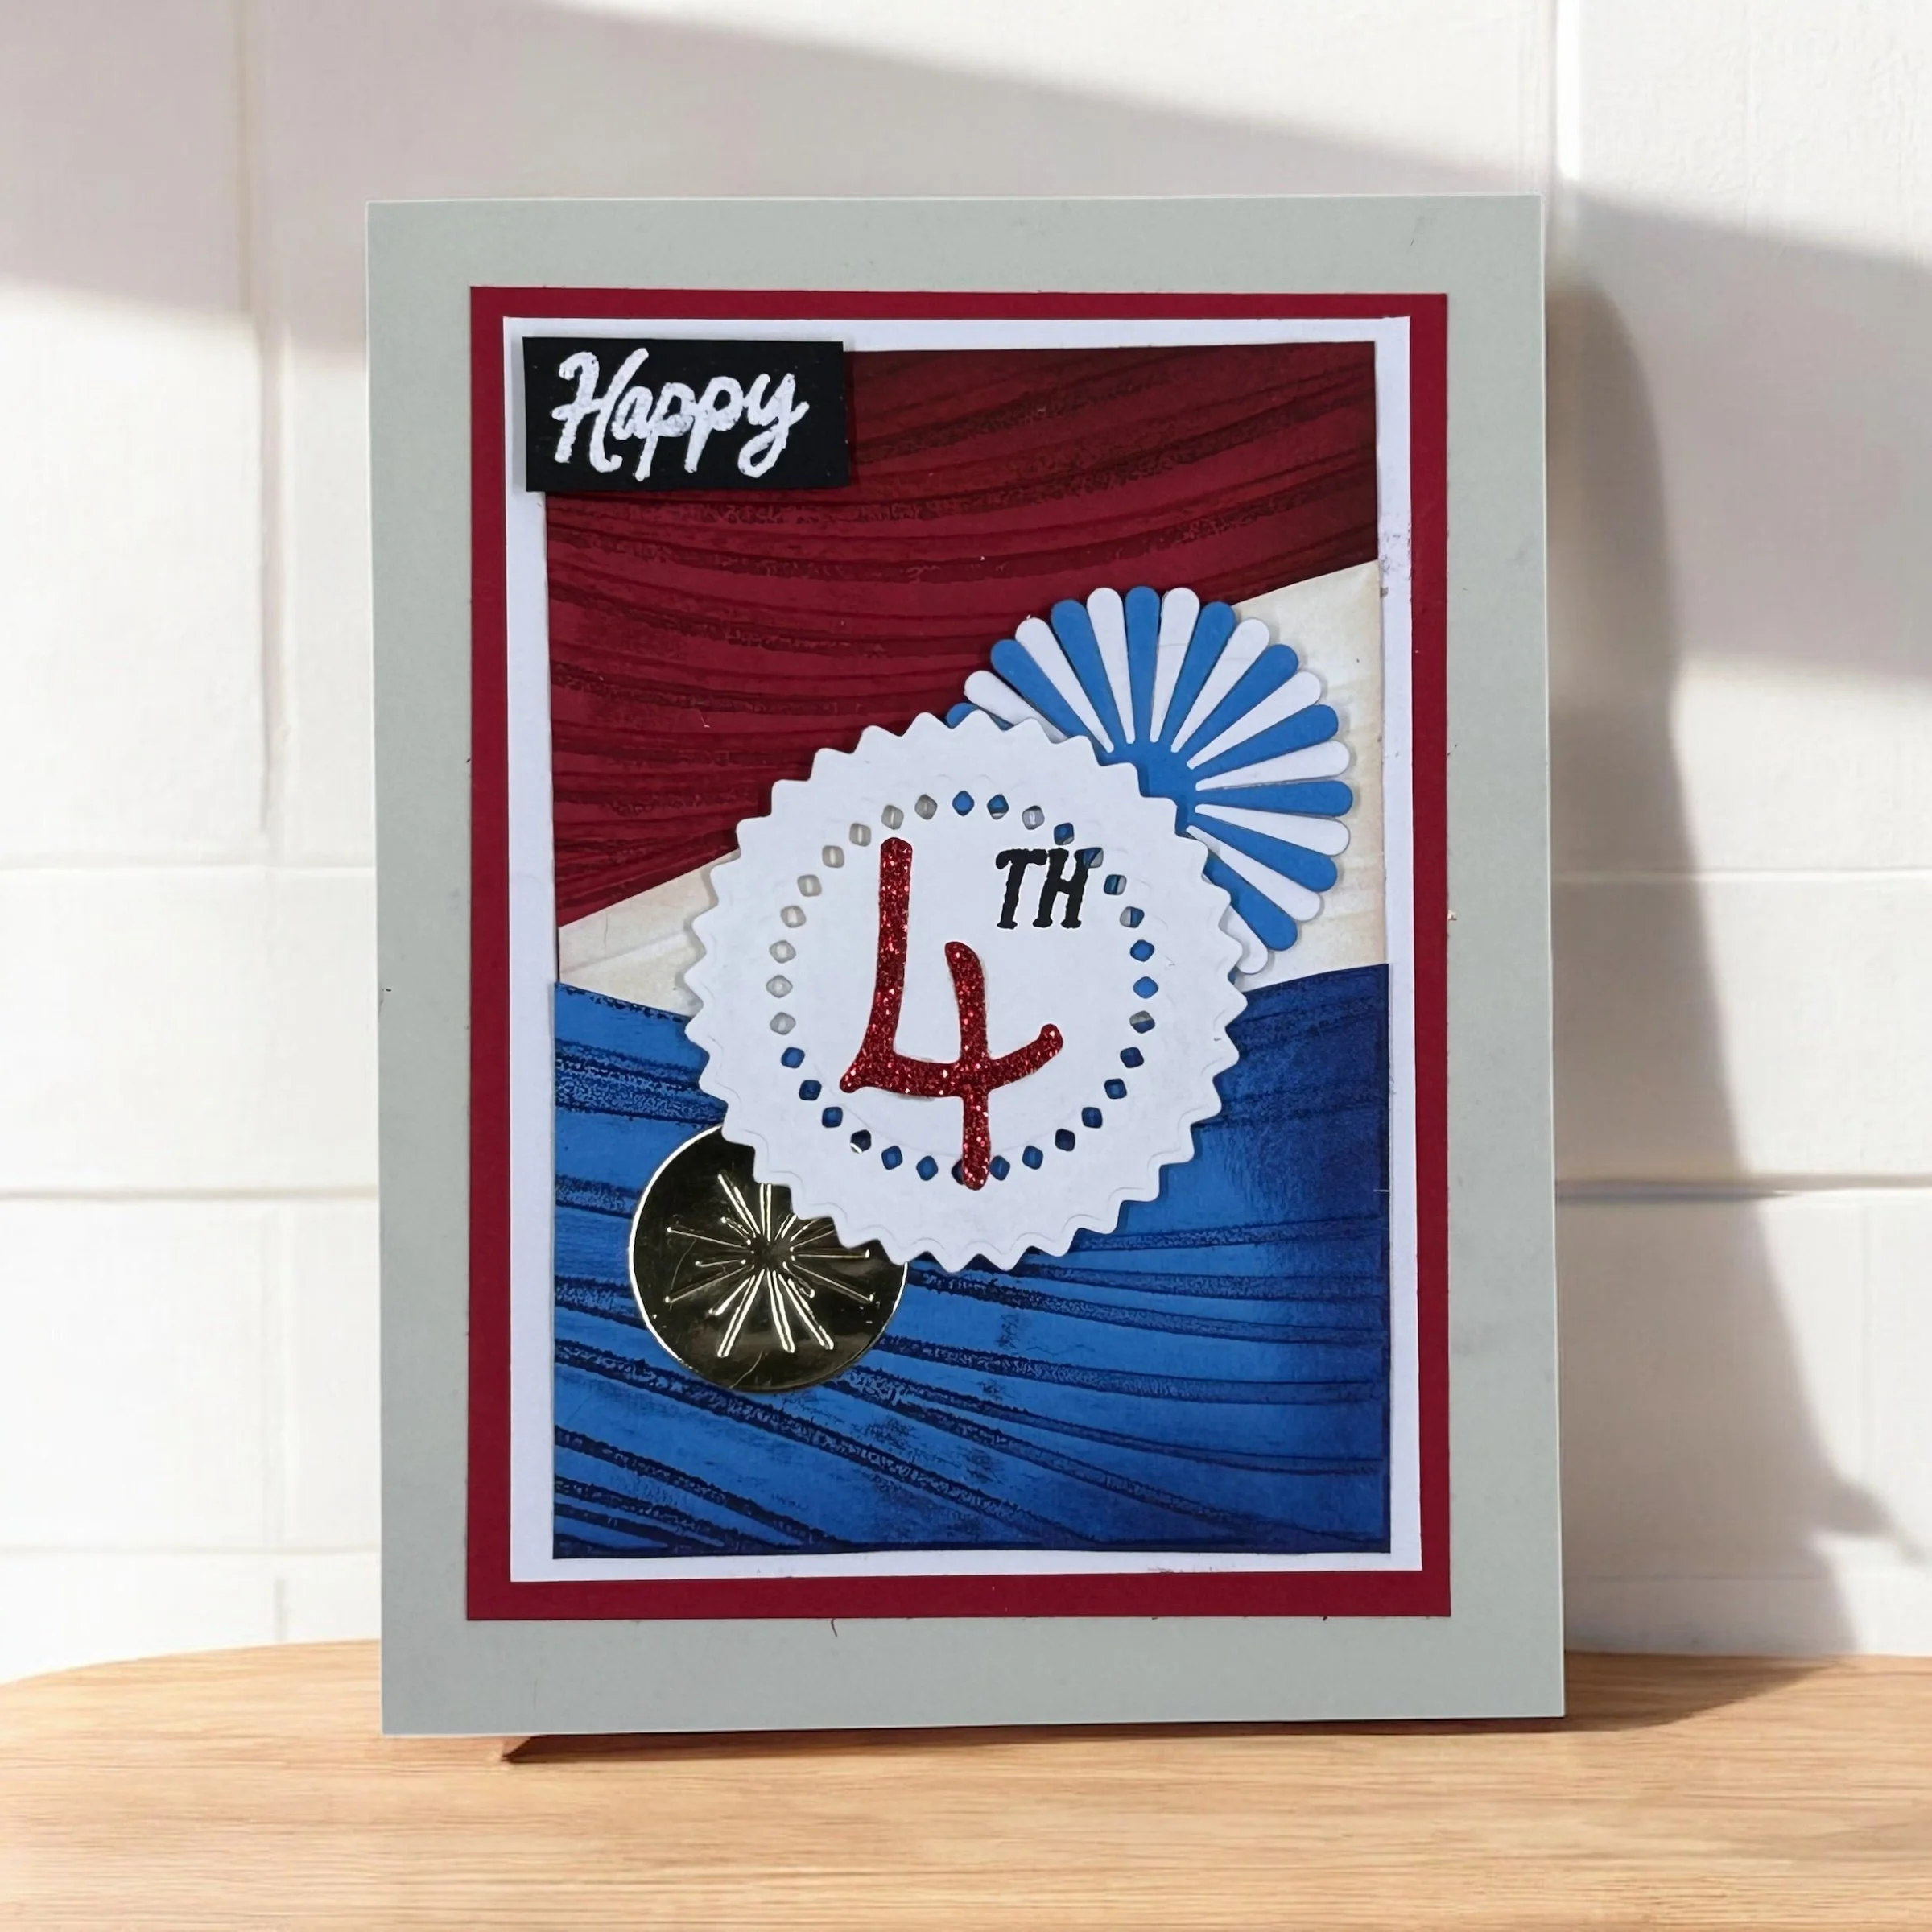
Looking for a fun and festive way to show your patriotic spirit this Independence Day? This handmade 4th of July card is a firework of creativity! With bold red, white, and blue layers, a touch of shimmer, and dimensional embellishments, it’s the perfect card to give to a friend, family member, or even use as decor at your July 4th celebration. Below, I’ll walk you through exactly how I made it—plus a few tips to make it your own!
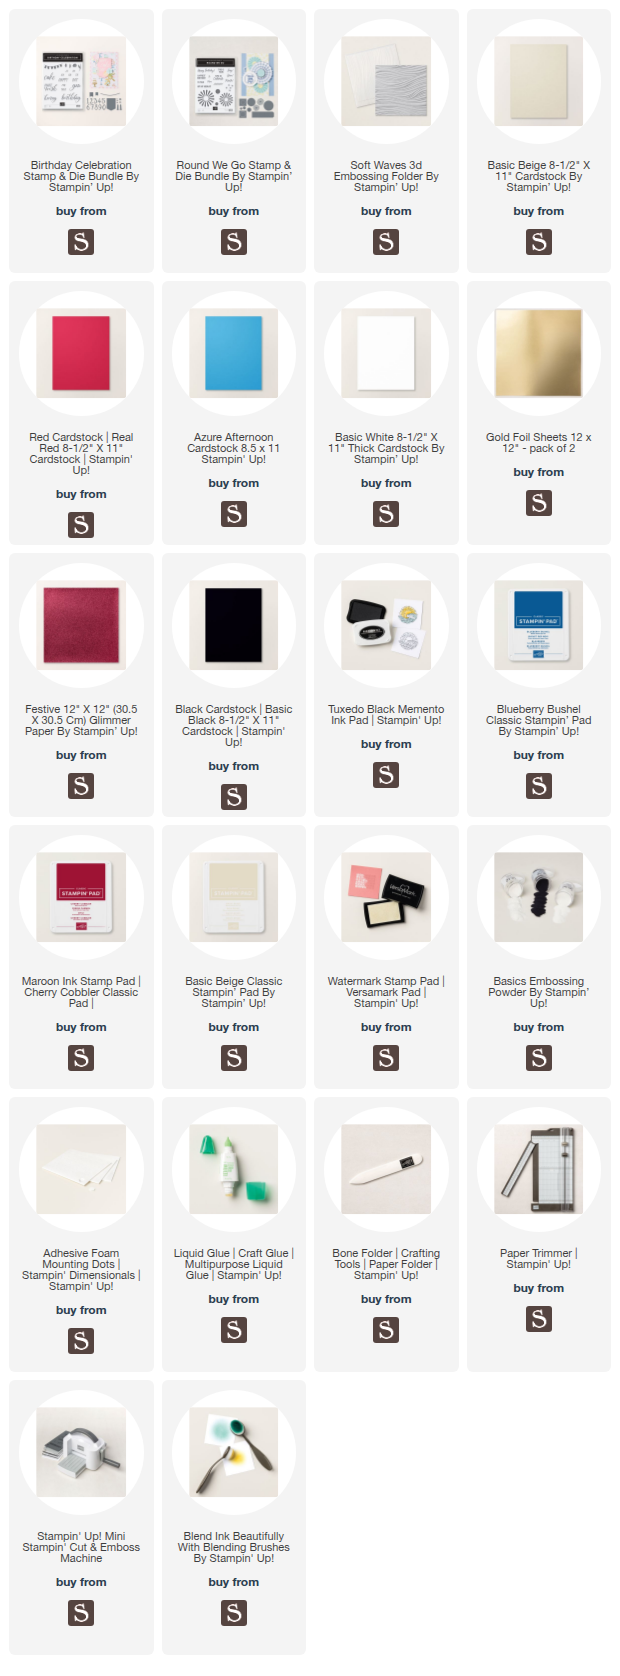
All the supplies you will need are listed this blog post page down below, click view original post if you are viewing this via email.
Step-by-Step Instructions:
1. Prep Your Base Layers
Start with a sheet of Basic Beige cardstock to make your card base. Cut your sheet in half at on the 11 inch side at 5.5 inches, and then rotate and score at 4.25 inches, fold and burnish. Cut your first layer, a piece of Real Red cardstock smaller at 3 1/2 x 4 4/8 and then your second layer with a piece of Basic White, at 3 1/4 x 4 1/2 panel for contrast. These borders make everything pop! Adhere your red piece first using a bit of glue, and then white piece onto your folded basic beige card base.
2. Create the Wavy Background
Using the Soft Waves embossing folder, emboss a piece of real red cardstock (cut to 6 x 6”), then a piece of basic white card stock (cut to 6 x 6”) and then a piece of azure afternoon cardstock (blue) (6 x 6”). Cut all three of these pieces in half, so now they are 3 x 6” in size each. And then I fussy cut each into 3rds, following the wave pattern.
Using the ink blending brushes, I ink blended the darker red ink (cherry cobbler) onto the edges of the real red cardstock waved piece, and the I did the same using blueberry bushel ink onto the azure afternoon waved piece. I also added a bit of basic beige ink to the white waved piece. For a little extra flare, you can use your inks right on. your embossing folder before you emboss your piece of cardstock, to give the pieces further dimension.
I then glued down my red waved piece first, then I added the white piece a bit on top of that below it, and then the blue piece. I adhered these pieces so that you would see about 1/8 of inch of the basic white layer below it.
3. Add the Sentiment Panel
Die-cut a white scalloped circle using the die set from the Round We Go bundle, and stamp “4TH” in the center. I die cut and used red glitter paper for the number 4 and stamped the “TH” in memento black ink for contrast.
4. Fireworks & Shine
Add embellishments like a layered rosette burst using dies from the Round We Go Bundle in blue and white, and a shiny gold foil firework burst at the bottom left. These really make the design feel like a celebration.
5. Embossed "Happy" Label
Stamp “Happy” on black cardstock and heat emboss it in white for a bold contrast. Adhere it near the top left for a balanced layout.
6. Assemble It All
Use foam tape behind the scalloped circle to give your card depth. Layer everything as shown, and finish with a few sparkle accents or glitter if desired.